Finding Your Way Around
The top bar, the role-based sidebar, search, list views, forms, workflow actions and notifications.
The screen at a glance
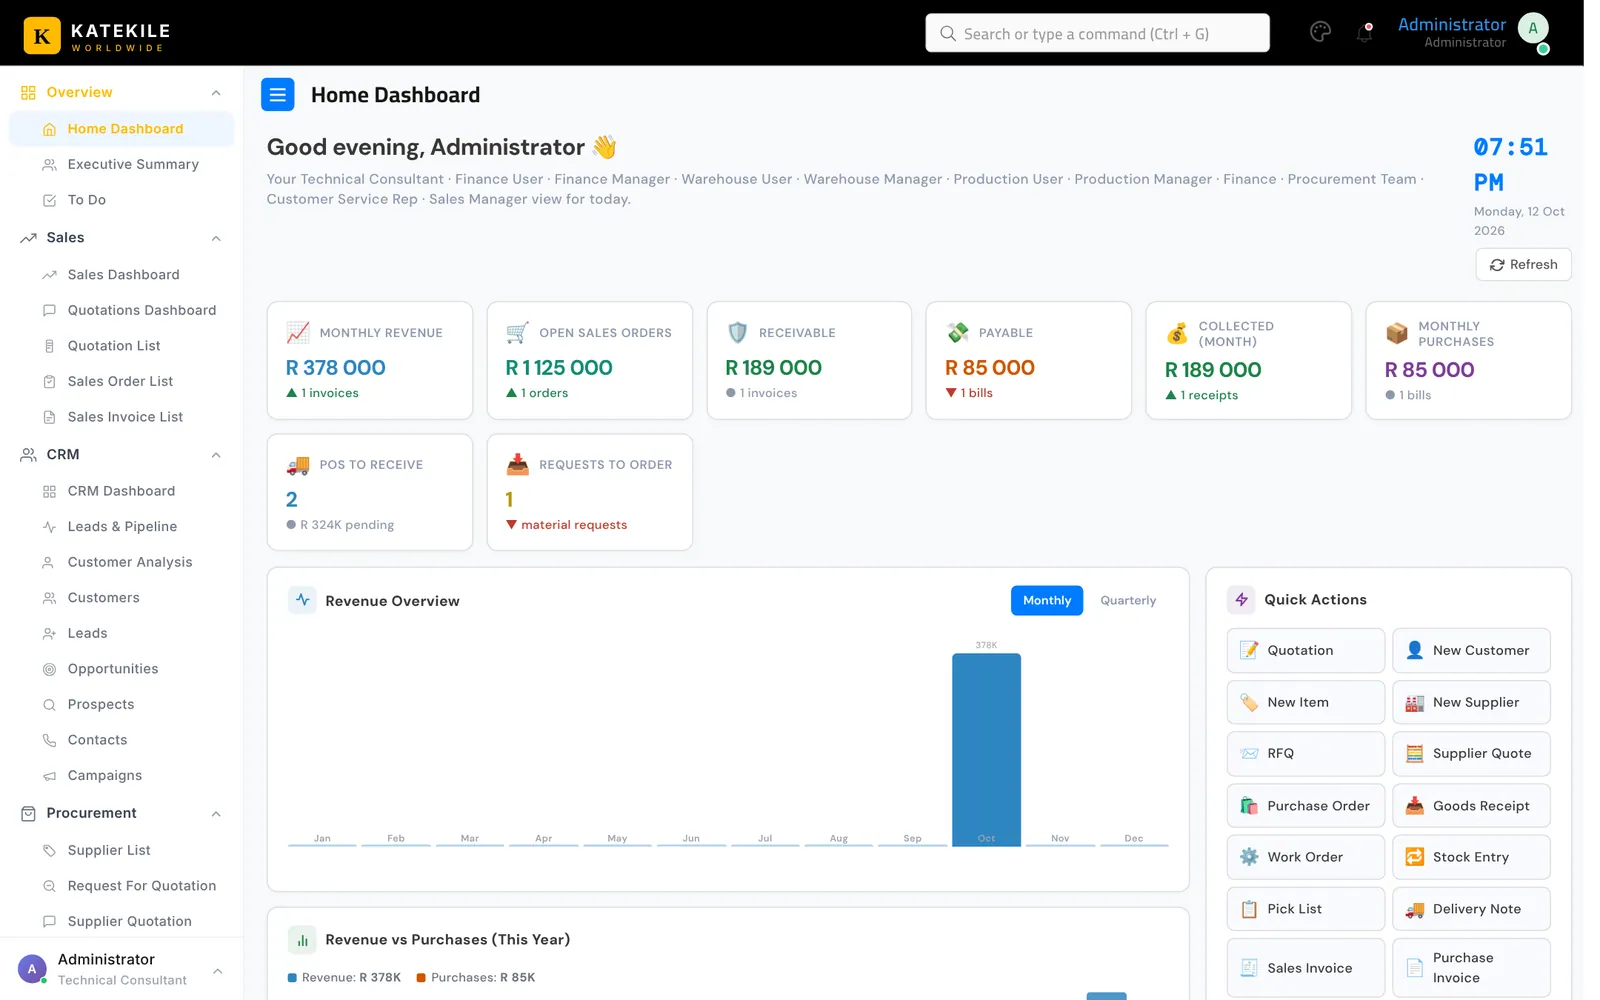
| Area | What it does |
|---|---|
| Top bar | Katekile logo (click to return home), global search (Ctrl + G), the theme palette icon, notifications bell, and your name with your role underneath. |
| Left sidebar | Your menus, grouped into sections such as Sales, CRM, Procurement, Manufacturing, Inventory & Vault, Dispatch, Accounting and Reports. You only see the groups and links your role is allowed to use. Click a group heading to collapse or expand it — the system remembers your choice. |
| Profile card | At the bottom of the sidebar: your email and your Katekile role, with the account menu (My Settings, Log out). |
The sidebar is different for each role
The sidebar is built from your roles. A Customer Service Rep sees Sales, CRM and Reports; a Warehouse User sees Purchase, Manufacturing and Inventory & Vault; a Finance Manager sees Accounting and Finance reports. Your role’s page in Roles & Permissions lists your exact menu.
Hiding a link in the sidebar is for convenience. What you can actually open, create or approve is controlled by permissions — if you open a screen your role is not allowed to use, the system shows “You don’t have access” or “No permission”.
Searching
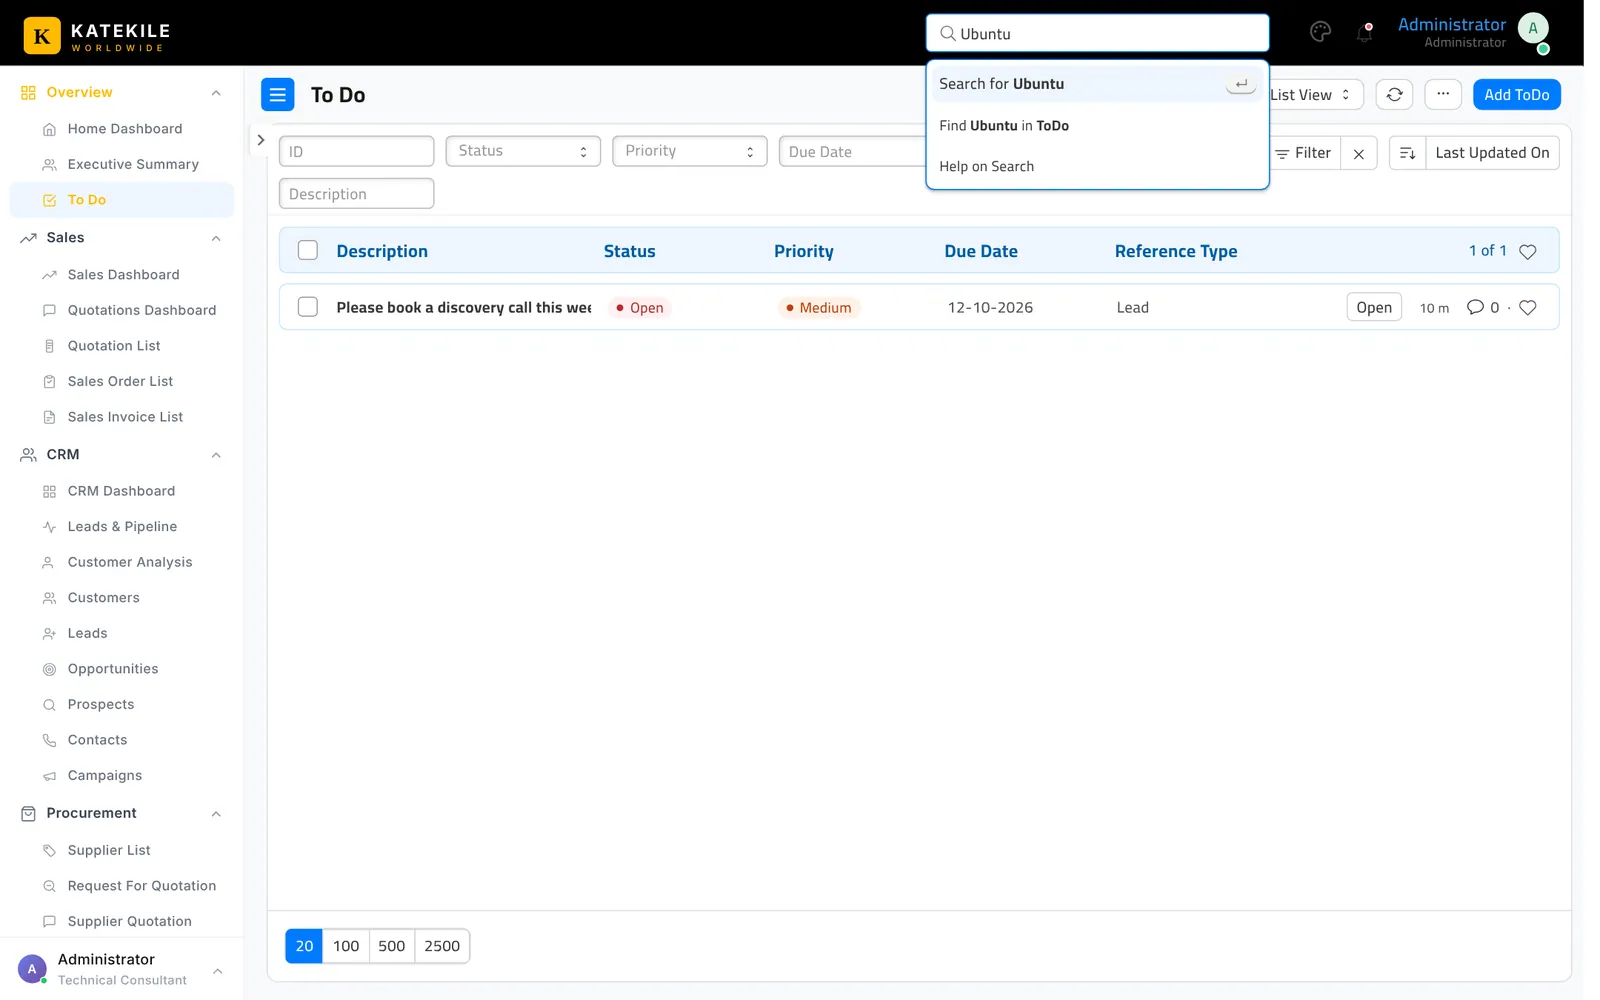
Click the search box in the top bar (or press Ctrl + G) and start typing a customer, supplier, document number or screen name. Pick a result to open it.
List views — the card layout
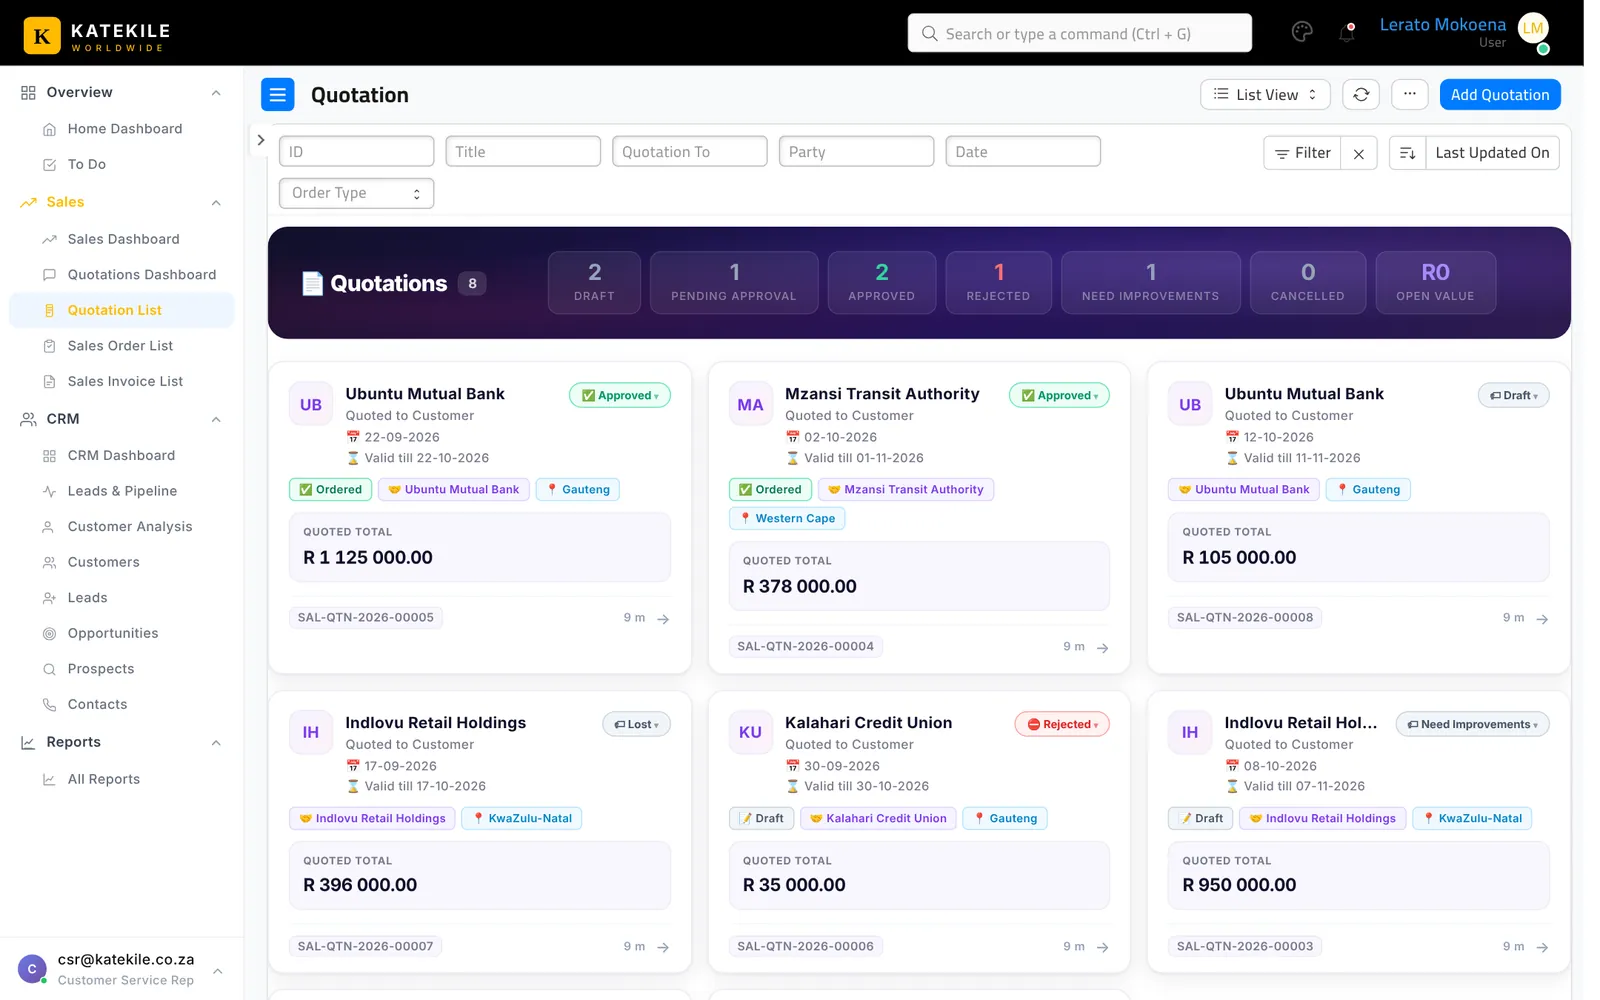
Most lists (Quotations, Customers, Suppliers, Leads, Opportunities, Sales and Purchase Orders, Work Orders, Items, Job Cards, Stock Entries and more) use the Katekile card list:
- A dark summary banner at the top counts records by status (for example Draft, Pending Approval, Approved, Open Value). Click a tile to filter the list to that status.
- Each record is a card showing the key facts — party, dates, totals, status chips and the document number.
- The standard filter bar, sort control and List View switcher are still available at the top. Bulk actions work as usual: tick cards and use the Actions menu.
Forms
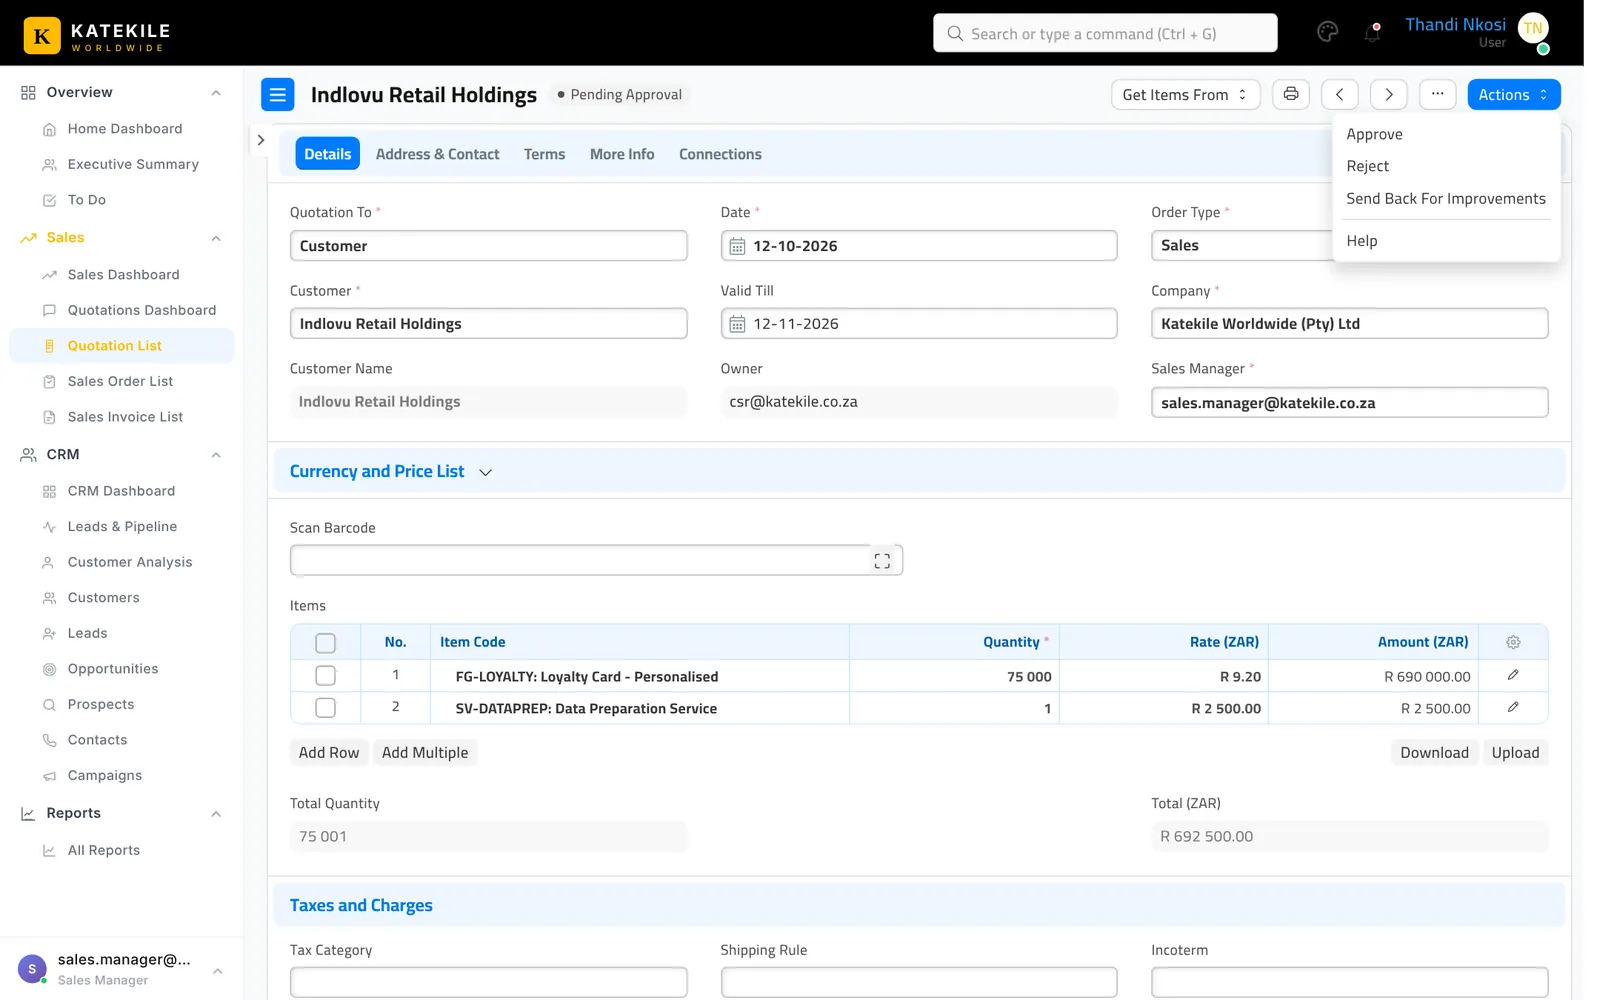
Every document opens in a form with tabs across the top (for example Details, Address & Contact, Terms, More Info, Connections). Fields marked with a red asterisk are mandatory.
- Save with the blue button or Ctrl + S.
- Documents that post to the books (orders, invoices, receipts, stock entries) must also be Submitted. Once submitted they are locked; to change one you Cancel and Amend it.
- The Create button makes the next document in the chain (for example Quotation → Sales Order, Sales Order → Delivery Note).
- Connections shows every linked document.
Workflow states and the Actions button
Quotations, Customers and Suppliers follow an approval workflow. The current state shows as a badge next to the title (Draft, Pending Approval, Approved …). The blue Actions button lists only the actions you may take at this stage.
See Approval Workflows for every state, action and who can perform it.
Notifications and email
When a document moves to a state that needs your attention, the system emails you (for example “Quotation SAL-QTN-2026-00009 – Pending Approval”). You also see assignments and mentions under the bell icon. Full list: Email Notifications.
To Do
Overview → To Do lists everything assigned to you, such as a lead your manager assigned.
Last updated October 16, 2026